Now that you’ve instantiated the Databricks service within Azure, let’s take a tour of the workspace & become familiar with Notebooks.
Workspace
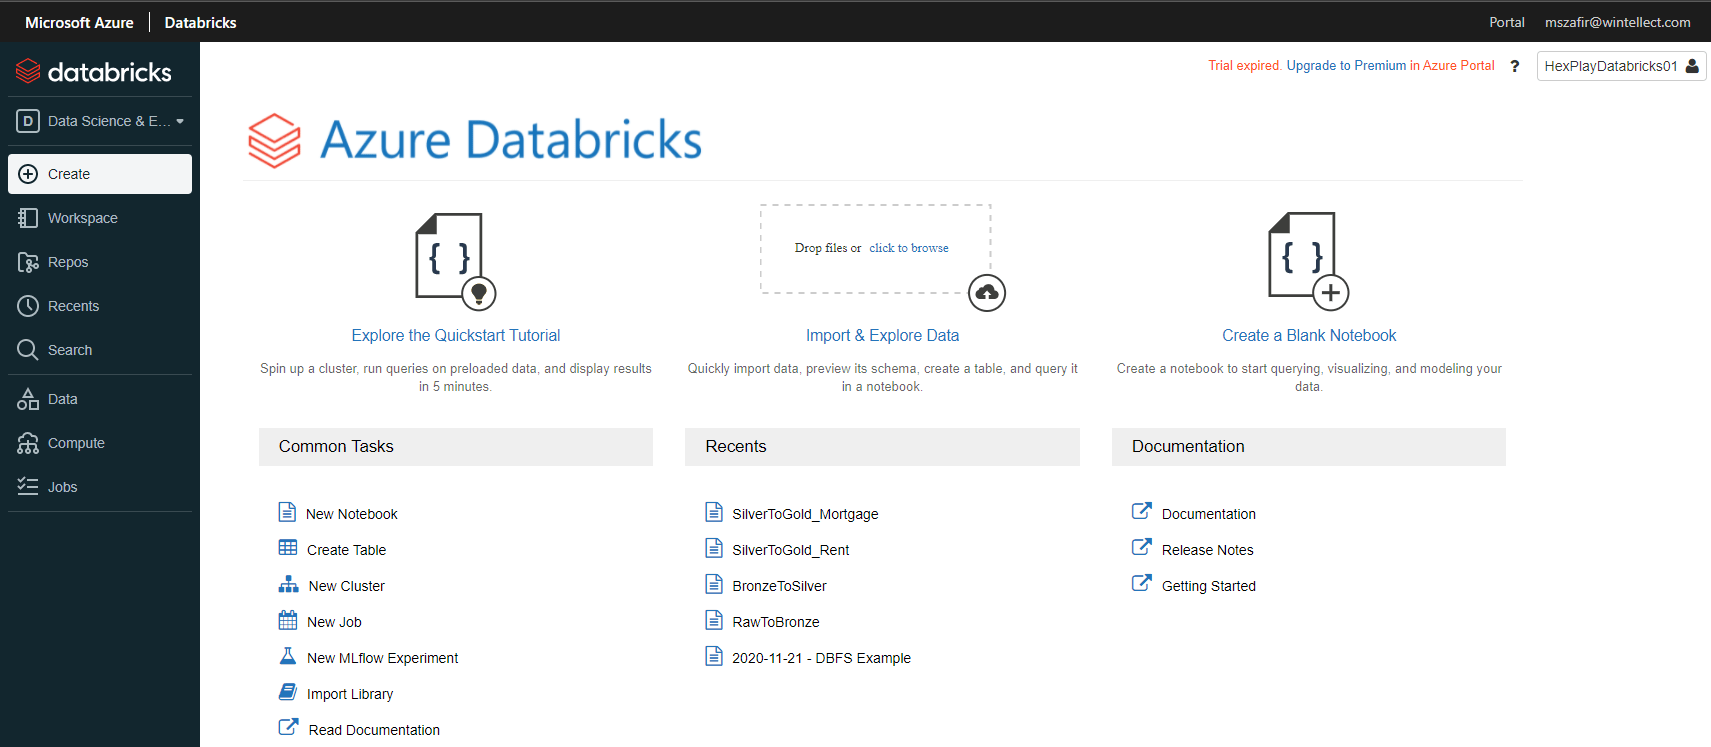
The above image shows the Databricks homepage of this workspace. The left menu provides the majority of your options (outside of administration). Clicking on Workspace expands to the following:
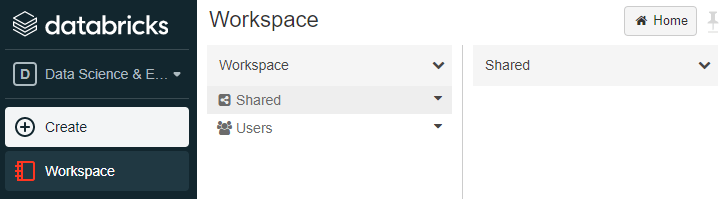
The workspace is divided into 2 main areas: Shared & Users.
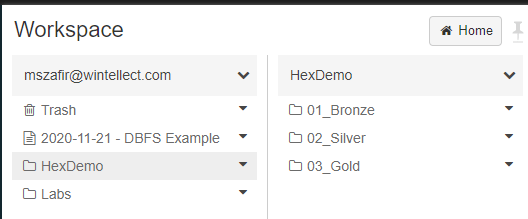
Under Users, you will see a folder for each user that has logged into the workspace. Personal notebooks will be found here. This is a good place for notebooks under development / testing.
Under Shared, all users can manage items here.
Folder structures should be set up here to organize your notebooks.
Here’s an example of notebooks organized into folders using the medallion architecture:
Notebooks
The Databricks workspace allows you to develop and organize your applications using collaborative notebooks. Notebooks consist of cells that can be independently run. This type of environment facilitates quick development & testing.
As stated earlier, Spark Applications can be written in Java, Scala, Python, R, & SQL. I recommend choosing the language you are most familiar with (and if you aren’t familiar with any start with Scala). A notebook is configured to have a default language but each cell can be configured to use any of the above languages (as well as markdown and file system commands) using “magic commands”.
When collaborators are working on the same notebook you’ll see their initials above the notebook in the IDE.
The general format of a notebook for a data pipeline is as follows:
- Source libraries needed
- Define the source DataFrame
- Apply one or more transformations
- Visualize or Save the DataFrame to a sink
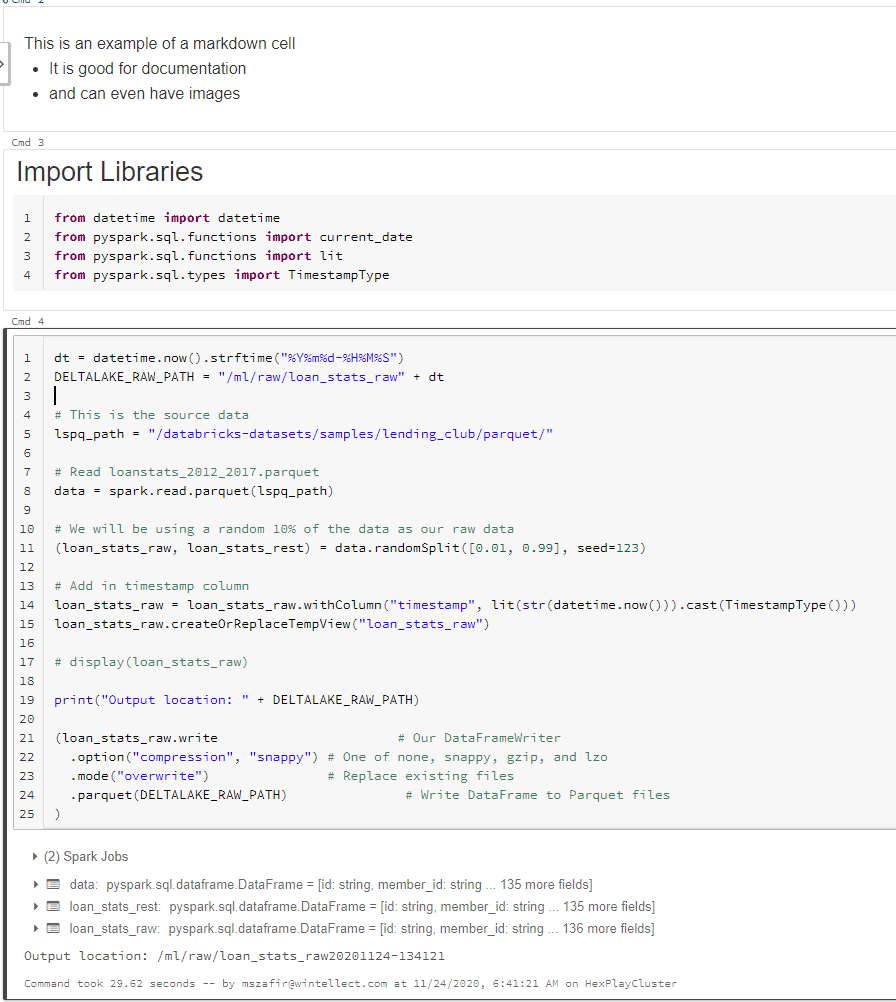
When developing your notebooks split your cells up logically. Each cell can be given a title. If more information is needed use the markdown magic command (%md) to insert a cell with documentation.
Here is an example of some of the above:
The next post will cover clusters.
