In the previous post, we went over how to use the Custom Vision Training and Prediction SDKs to programmatically predict image URLs and image files. In this post, we’re going to use those same SDKs to show how to programmatically upload more training images to the service and train a new model with those new images.
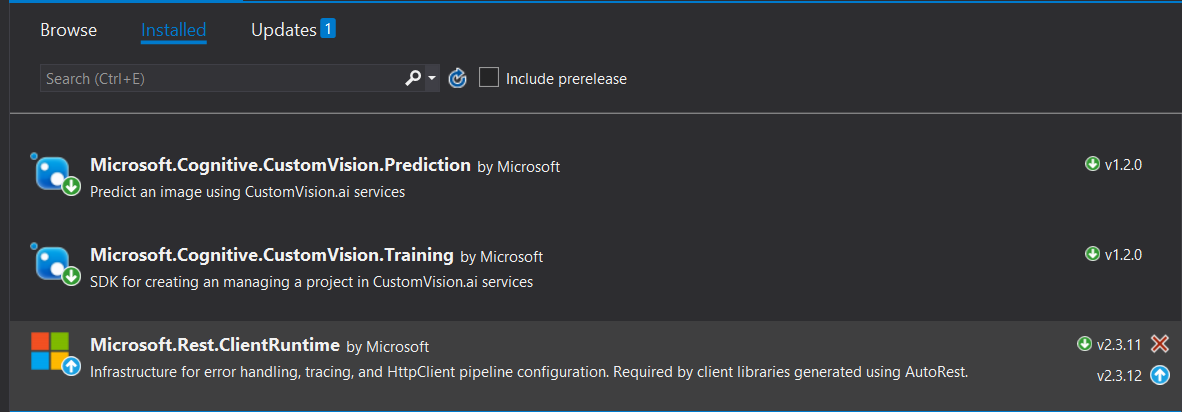
Similar to the previous post, we will need the same three NuGet packages.
And similar to the other post, we’ll get instances of the TrainingApi and get a reference to the herbs project.
var keys = GetApiKeys();

var trainingApi = new TrainingApi { ApiKey = keys.TrainingKey };

var projects = trainingApi.GetProjects();
var herbProject = projects.FirstOrDefault(p => p.Name == "Herbs");
Now that we have all this setup, we can start uploading more training images and train a new version of our model.
You can find the code for this post is up on GitHub.
Upload New Training Images
If you remember back in the first post of this series when we uploaded images we had to give each of them a tag. Programmatically, it’s the same process. To start an upload, we’ll ask the user to give the file path of the image, but we’ll also ask what tag the image should be attributed to.
Console.WriteLine("Input path to image to train model with:");
var imagePath = Console.ReadLine();

Console.WriteLine("What tag would you give this image? Rosemary, cilantro, or basil?");
var imageTag = Console.ReadLine();
Now that we have the inputs from the user, let’s upload our image to the custom vision service. Before we do that, however, we should make sure the tag we got from the user matches what we already have stored. To do that, the input tag from the user would need to be capitalized since that’s how we have our tags in the custom vision service. Then we can call the GetTags method from the TrainingApi class and filter those based on the capitalized tag.
var capitilizedTag = char.ToUpper(imageTag.First()) + imageTag.Substring(1).ToLower();

var tags = trainingApi.GetTags(herbProject.Id);

var matchedTag = tags.Tags.FirstOrDefault(t => t.Name == capitilizedTag);
With the matched tag, let’s now get the image file ready for upload. This does involve a few more steps than we did with predicting on an image file. The one similarity is that we can use the File.OpenRead method again to get the FileStream object.
var imageFile = File.OpenRead(imagePath);
The FileStream can’t be used by itself in this case. We must copy it to a MemoryStream object.
var memoryStream = new MemoryStream();
imageFile.CopyTo(memoryStream);
Now with the image data inside the memoryStream object, we can use some classes on the Training SDK: ImageFileCreateEntry and ImageFileCreateBatch.
var fileCreateEntry = new ImageFileCreateEntry(imageFile.Name, memoryStream.ToArray());
var fileCreateBatch = new ImageFileCreateBatch { Images = new List<ImageFileCreateEntry> { fileCreateEntry }, TagIds = new List<Guid> { matchedTag.Id } };
The ImageFileCreateEntry is what we need to create to house the image name and data. Then we use that to help create the ImageFileCreateBatch. The ImageFileCreateBatch has the Images property where we can create a collection, a List in our case, of the fileCreateEntry object we created just above. There’s also a TagIds property where we can use the matchedTag that we created to fill in as a List of Guid objects and just use the tag ID.
With all of that created we can use the CreateImagesFromFiles method off of the trainingApi object to send the images to the custom vision service.
var result = trainingApi.CreateImagesFromFiles(herbProject.Id, fileCreateBatch);
This returns a response from the custom vision service and depending on how big the image is and how many we sent to the service, we would get a status from the result to check it. We only sent one image so we can get a reference to it.
var resultImage = result.Images.FirstOrDefault();
A nice thing the custom vision service does is that it will tell us if any extra images we upload to it for training are duplicates of images that it already has. We can check this status programmatically with the OKDuplicate status.
switch(resultImage.Status)
{
    case "OKDuplicate":
        Console.WriteLine("Image is already used for training. Please use another to train with");
        Console.ReadLine();
        break;
    default:
        break;
}
With the image uploaded to the service, let’s train a new model.
Training a New Model
To train a new model, just simply call the TrainProject method on the trainingApi object. Each time you train the project you get a new iteration, so when we called the TrainProject method that gave us a reference to the next iteration of the model.
var iteration = trainingApi.TrainProject(herbProject.Id);
However, it may take a while to train the project depending on how many extra images that were sent to the service. Because of that, we need to check the iteration status.
while (iteration.Status != "Completed")
{
    System.Threading.Thread.Sleep(1000);

    iteration = trainingApi.GetIteration(herbProject.Id, iteration.Id);
}
Once training is eventually complete there’s one more step we need to take – tell the custom vision service to set this new iteration of the model as the default one.
iteration.IsDefault = true;
trainingApi.UpdateIteration(herbProject.Id, iteration.Id, iteration);
After that, we’re free to make predictions like in the previous post on our updated model.
In this post, we went over how to programmatically add new training images to the custom vision service to classify images. Then, we showed how to train a new iteration of the model that was trained on the new images to improve the model’s accuracy when making new predictions. We’ll continue with the Custom Vision SDK by showing how to use the Python version of the SDK and use that to create a brand new classification project.
