Creating a model to classify images would usually involve creating your own deep learning model from scratch. This includes having a very large and diverse set of training images with a portion of them set aside as a test set, a good convolutional neural network as the model, and a GPU enabled machine to do the training. Then you were able to use pre-trained models and build a good model on your own images without a big training set through transfer learning. But now, with the Microsoft Custom Vision service, you don’t even need to build the models themselves.
In this post, we’ll show how to use the Microsoft Custom Vision service to build your own image classification model to determine what herb is in a photo. The herbs we’ll be using are cilantro, basil, and rosemary. Not only that, but there is no coding required to build this model. You can train and manage your models all through the web portal.
If you’d rather have a video version of this post, you’re in luck! We have one for you.
Create Custom Vision Project
To get started with the custom vision project, go to the Custom Vision site. Once there and logged in click “New Project” to create a new project. This will bring up a dialog for you to add in some details about your project.
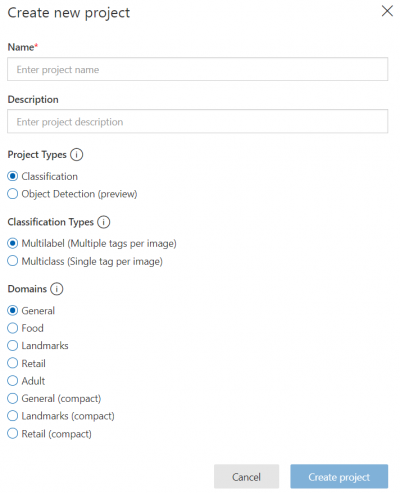
Besides the name and description, there are a few options that you can choose that can impact how your model gets built and how it can impact the performance of your model:
- Project Type: Do you want to classify what the image is or detect something that’s in the image? This setting will let you either classify the entire image or detect what certain parts of the image is.
- Classification Types: This setting will determine if your model will return a single tag (or classification) or multiple tags depending on what’s in the image.
- Domains: Picking a domain that’s close to what kind of images you’ll be classifying will help improve the model. The compact domains are more lightweight so you can have the option to download the model for mobile devices that will allow for offline predictions.
For what I’ll be doing I’ll keep the project type to classification, change the classification type to multiclass, and choose the general compact domain. And once those are filled in click to create the project.
Add Training Images
Now that you have an empty project created you’ll see a screen like the below.

The main thing we need to do is to add our training images, so click the “Add Images” button. This will bring up a file dialog where you can choose your files. In our case, we’re going to upload all of the basil images and once they are selected, then you’ll get another dialog.
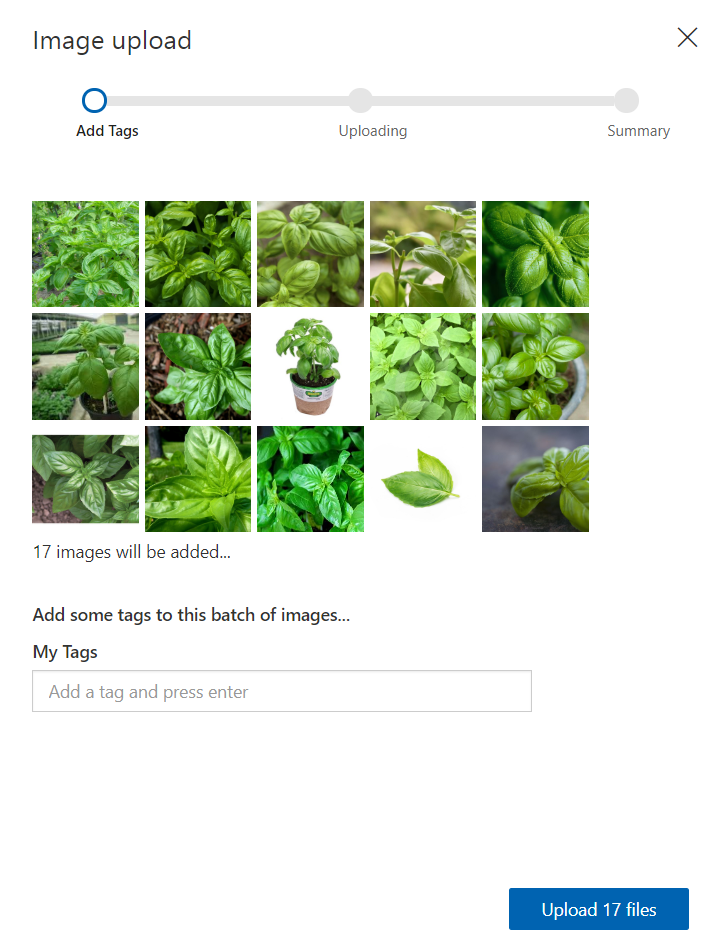
This dialog is where we set our tags to the set of the photos. These tags are what we’re saying we want the custom vision service to classify other similar images as. Type in “Basil” and click to upload.
Now we have our first set of training images associated with a tag. We’ll do the same process with the cilantro and rosemary photos. After that’s done, in our main project page, we’ll get something like the below that shows all of our tags and images.
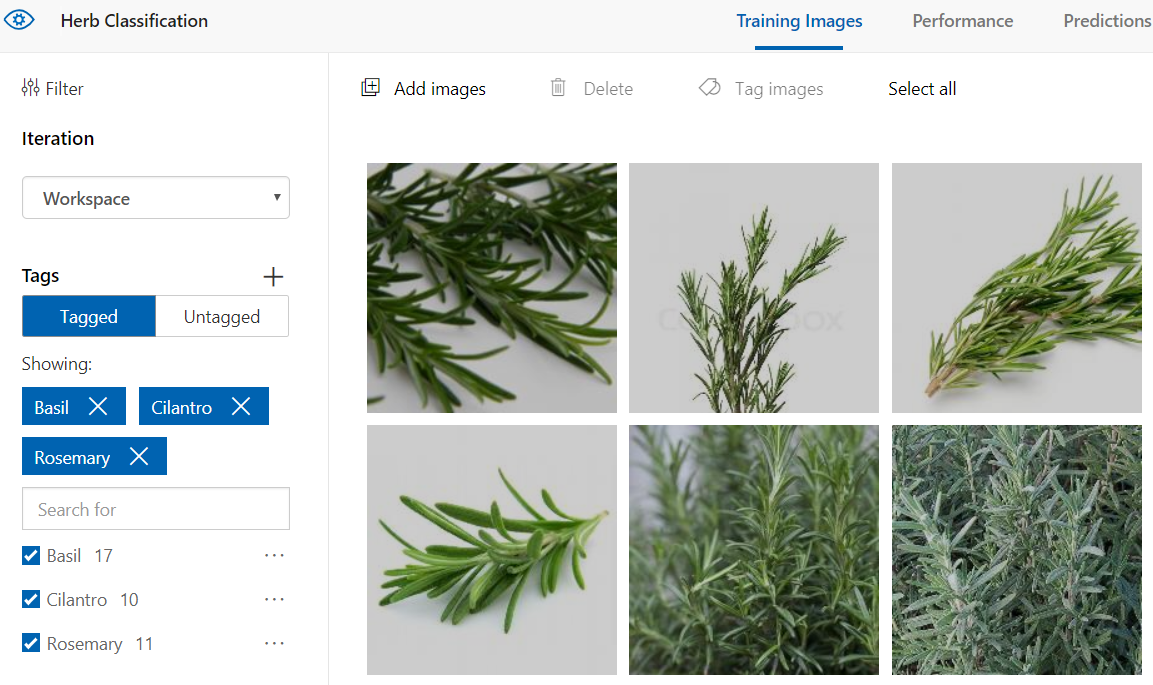
With all of our training images uploaded, let’s see how exactly to train our model.
Train Custom Vision Model
Training our custom vision model is very easy. You may have already noticed the green “Train” button at the top next to the “Quick Test” button.

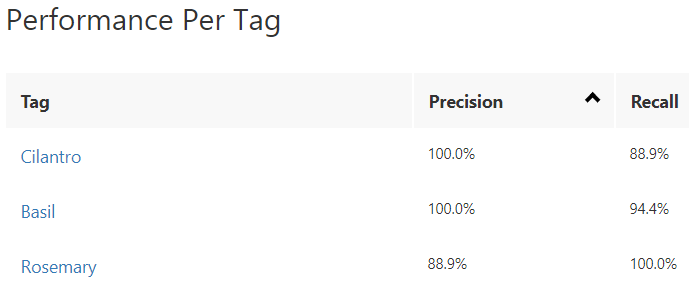
Just click that to start the model training on the data that we gave it. Once it finishes training you’ll be redirected to the “Performance” tab and it will look something like the below.

This screen shows the precision and recall for the model as a whole. Precision and recall are two related metrics for classification in machine learning. Precision tells how likely a tag predicted by the model is correct while recall tells what percentage of the correct tags that the model found, how many were predicted. The thing to remember, though, is in order to have an accurate model, precision and recall must both be as close to 100% as they can. If one of them is high and the other is low, then that indicates that the model could still use some work.
This screen also shows the precision and recall for each individual tag. This is useful to see if one tag may not be performing as well as the others. If that’s the case, then adding more training images for that tag will help out that tag’s performance as well as the overall performance of the model.
Also, notice that on the left side there is a probability threshold slider. This sets the minimum probability for a prediction on a tag to be valid. This can be adjusted to see if it helps improve the model any.

When we move this threshold, however, either the precision or recall get worse than what they were. Because of that it’s best to keep the threshold at 50% to get the best precision and recall, and therefore we get the best model possible from our current data.
Quick Test on Custom Vision Model
Remember the “Quick Test” button from above? We’ll use that to give, well…a quick test of our model. Once that’s clicked you’ll get another dialog show up.
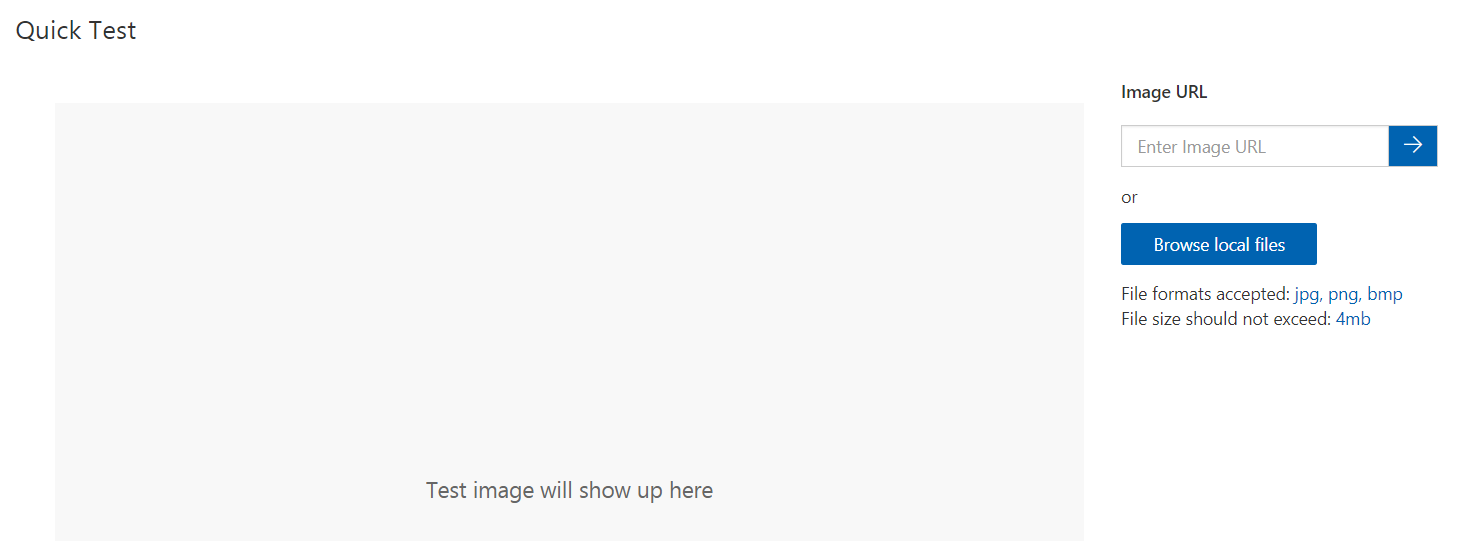
From this screen, you can see that we can either test with a local file or even with just an image URL, which helps us do a test that much quicker.
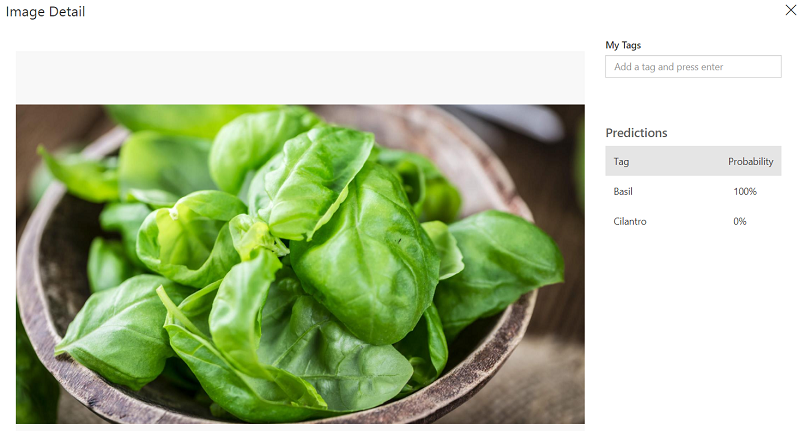
After a Google image search, let’s try to test on this image of basil. Simply put the URL into the Image URL text box and click the arrow button. It quickly comes back with predictions and their probabilities.
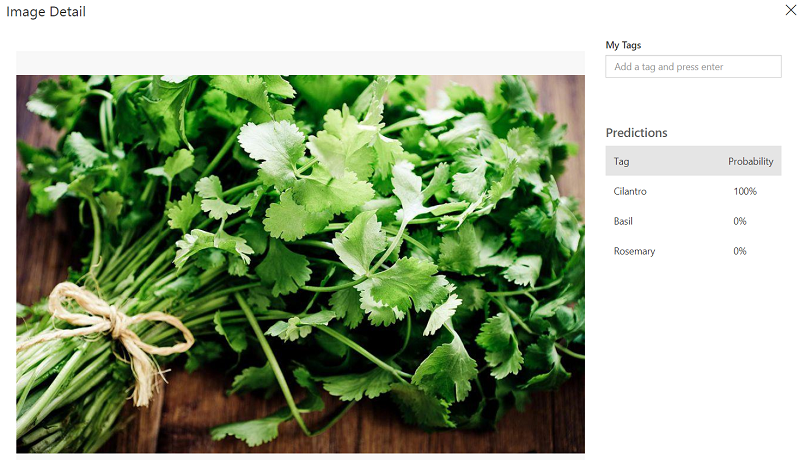
Let’s try it again with cilantro and try this image as a quick test.
In this post, we went over how to get started using the Microsoft Custom Vision service to build an image classification model. Not only were we able to easily train an perform some quick tests on our model, we did it without using any code. In our next post, we will look at how we can use this model to perform predictions in C#.
Learn more about our Data & AI Consulting and Data & AI Training.
