There are several examples of using custom fonts in your Xamarin floating around the internet. But like time, technology marches on and some recent changes have made it a bit more difficult so I thought I’d take a few minutes to show you how to integrate the latest FontAwesome fonts into Xamarin Forms 2.5.

FontAwesome is a custom font that has symbols that replace normal text characters and provide predominately web developers with easy to use iconography for buttons. For web use FontAwesome offers easy to use CSS/LESS and Javascript features that make showing a search icon as easy as adding a “<i class=”fa fa-search” />” tag. But underneath all of the web tricks is a collection of TrueType and OpenType fonts that can be used by any application.
FontAwesome version 5 is divided into a Free tier that includes 946 icons and a Pro version that has another 1535. This is a departure from the 4.7 version where all of the icons were contained in a single font file and they were all available for free. The version 5 free files are split between 3 font files, fa-brands-400.ttf/otf, fa-regular-400.ttf/otf, fa-solid-900.ttf/otf. You can learn more about FontAwesome and download the font files along with the accompanying CSS/LESS files at https://fontawesome.com/. The files we’ll be using for this demo are located in the fontawesome-free-5.0.8\web-fonts-with-css\webfonts directory.
Adding FontAwesome files to Platform projects
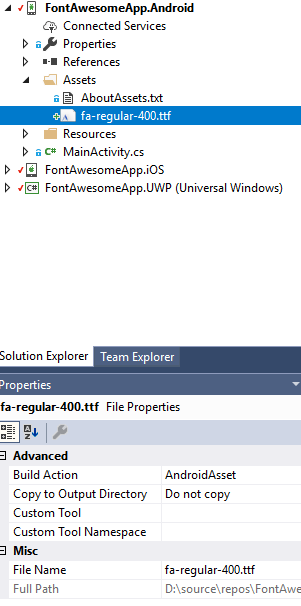
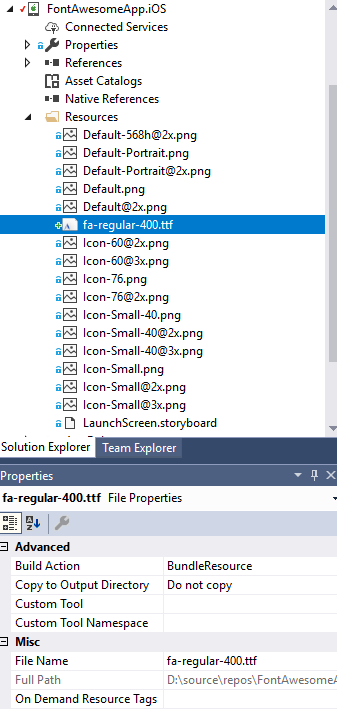
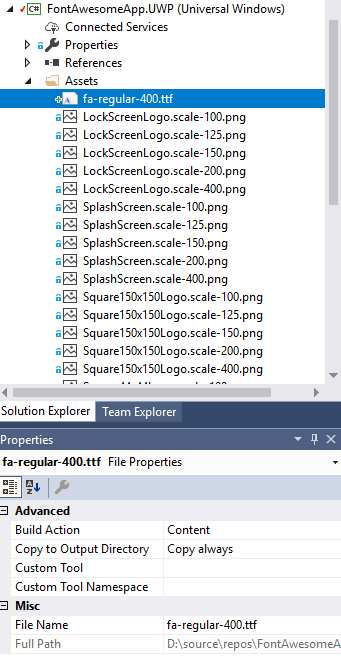
I’m going to be using icons from the fa-regular-400.ttf type font and so the first thing you have to do is to add the TrueType file to each of your platform specific projects in Visual Studio. For Android and UWP you add the file under your Assets directory. For iOS, add it to your Resources directory. Add the file by right clicking on the folder and selecting “Add Existing Item”, locate the file and it will be added to the project.
The next step is to make sure that you set the Build Action is set properly. For Android the build action should be set to “AndroidAsset”. for iOS set it to “BundledResource”, and finally for UWP set it to “Content” and set the Copy to Output Directory “Copy always”.
Using the font in your Xamarin Forms UI
Now that that fonts are added to your respective platform projects using it in Xamarin Forms is easy, if not altogether straightforward. This is due to the differences in how assets/resources are referenced by platform and by the naming structure of the new FontAwesome files.
<Button Text="&#xf11a;" HeightRequest="100" BackgroundColor="DarkRed" TextColor="White" FontSize="36"> <Button.FontFamily> <OnPlatform x:TypeArguments="x:String" Android="fa-regular-400.ttf#Font Awesome 5 Free Regular" iOS="Font Awesome 5 Free" WinPhone="Assets/fa-regular-400.ttf#Font Awesome 5 Free" /> </Button.FontFamily> </Button> <Label Text="&#xf11a;" HeightRequest="100" BackgroundColor="White" TextColor="Black" FontSize="36"> <Label.FontFamily> <OnPlatform x:TypeArguments="x:String" Android="fa-regular-400.ttf#Font Awesome 5 Free Regular" iOS="Font Awesome 5 Free" WinPhone="Assets/fa-regular-400.ttf#Font Awesome 5 Free" /> </Label.FontFamily> </Label>
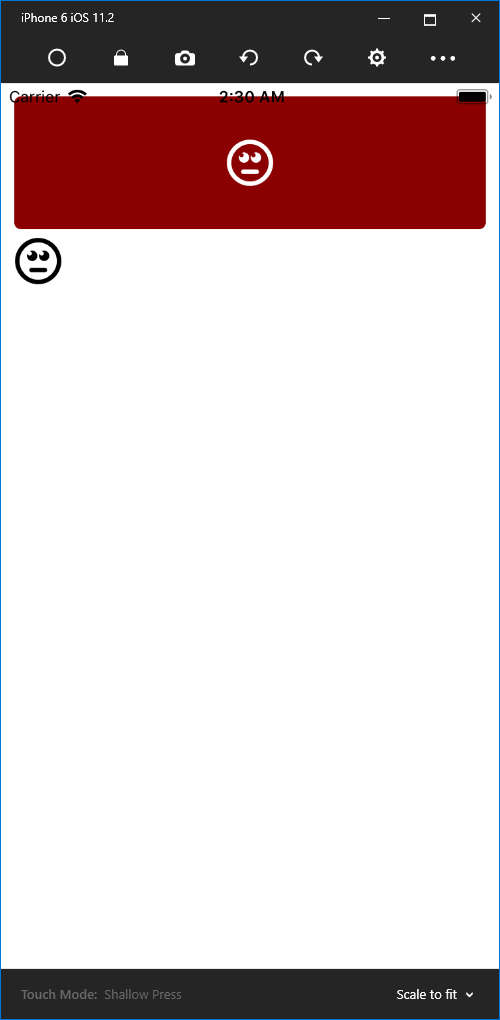
The XAML above shows a button and a label that display the FontAwesome “meh” icon. In order to use the custom font you have to specify the FontFamily attribute. This format for this attribute is different for each platform.
- Android: <filename>#<font name with style (Regular in this case)>
- iOS: <font name>
- UWP: <filename>#<font name without style>
Each icon in the FontAwesome library has a unicode value associated with it. The “meh” icon above uses unicode character f11a. This is represented in C# code via ‘\fu11a;’ and in XAML via “”. Find the unicode characters for each icon on the FontAwesome site.
That’s all there is to it. Here’s what it looks like in the apps.


This post originated at http://www.fifthstreetpartners.com/using-fontawesome-5-in-xamarin-forms/
